Blockchain moves fast, and if you want to keep up then you need to start using the technology. What better way than to get involved with blockchain than by checking out all the awesome dApps that are available on the various platforms. Today I will walk you through on how to get setup with Scatter in order to start interacting with EOS dApps.
Contents
What Is Scatter?
Scatter is a multipurpose smart cryptocurrency wallet that allows you to store EOS, Tron, Ethereum and Bitcoin tokens. While it can also be used to interact with Ethereum and Tron blockchains, today we will be focusing on EOS.
Scatter is an application that runs in the background and is able to communicate with your browser. When you visit an EOS dApp – which is really just a website – Scatter will be able to log you into your account and allow you to interact with the dApp.
If you’re confused right now, don’t worry. By the time you’re done reading this you will know exactly what I’m talking about.
Getting Started
To get started with Scatter, download and install the application. First create the password for your account. Once that is done you will have an option to generate a key pair for Ethereum, Tron, Bitcoin or EOS.
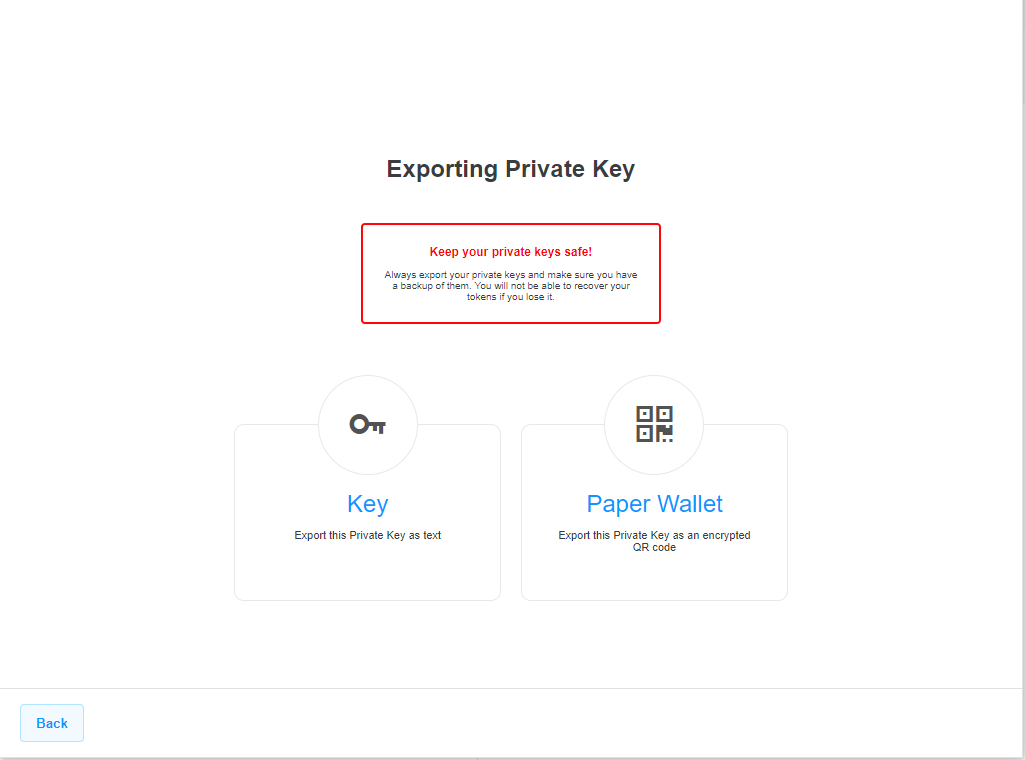
Generate a key pair for EOS and make sure to export it. This way, if your application ever gets corrupted (which happens more often than you think), you will always be able to get your account back.
Creating Your Account
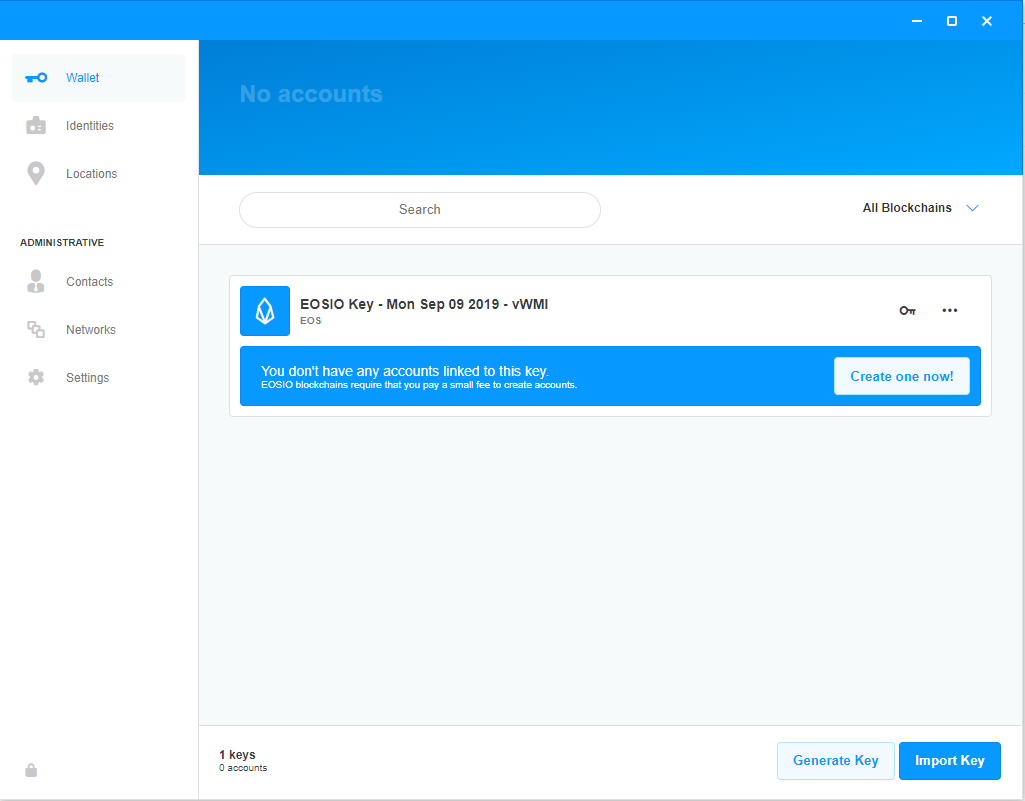
Once you generate and export your key, navigate back to your wallet and create an account. You do have to pay a small fee to create the account, that’s part of the EOS protocol.
When you create the account, it has to be 12 characters long and also has to be unique.
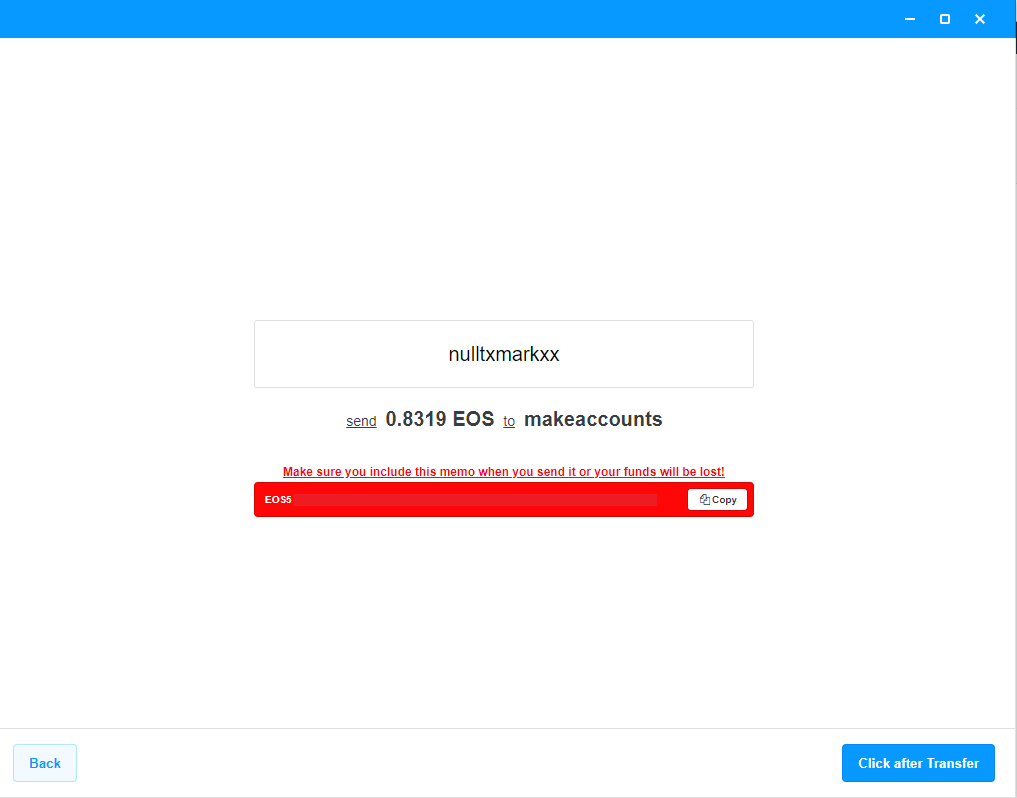
Once you select a name that’s available, you will be asked to deposit a small amount to a specific address. At the time of writing the cost to create a new EOS account is 0.8319 EOS, that’s roughly $3.2 at the time of writing.
You will need to obtain some EOS at this point. The easiest way is to go to an exchange like Binance and convert your existing ETH / BTC to EOS.
When you send the EOS transaction, you should have three fields: Address, Memo and Amount. The address is going to be makeaccounts, the memo includes instructions for EOS to make your account and should be copied from scatter, and the amount is required to perform the operation in the memo.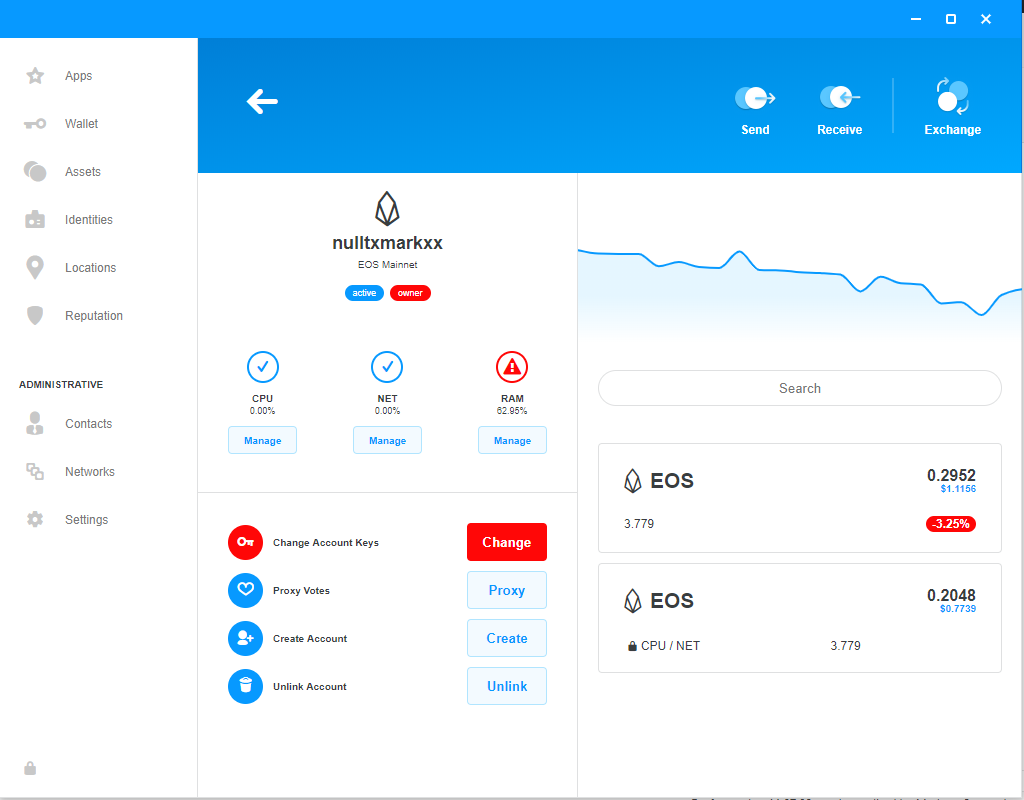
Once the transfer is complete, click the button titled “Click after Transfer” and Scatter will attempt to look for your account. It should only take a few seconds after which the new account should show up on your dashboard.
Two EOS Balances
At this point you should have a small amount of EOS in two accounts. The top one is your liquid amount of EOS available, in my case I have 0.2952. The EOS amount shown below (0.2048) is the staked amount.
When you stake EOS you are effectively mining the cryptocurrency. However, the tokens that are being staked are not liquid. You can send an unstake request via EOStoolkit, it will take 3 days for the tokens to become liquid.
What Now?
At this point you are finally done setting up your EOS account on scatter. You can now interact with various EOS dApps just like you would with Ethereum.
Let’s test it out with one of the most popular EOS games right now – Prospectors.
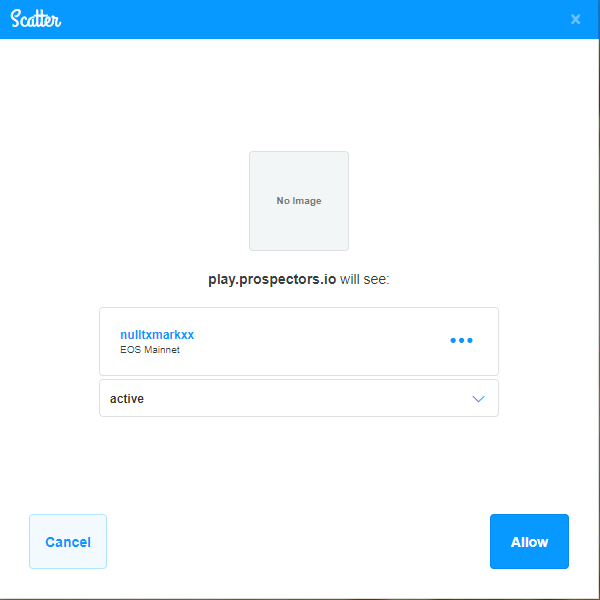
Head on over to their website, login via Google or Facebook, and click use wallet. Make sure that Scatter is running in the background. You will notice a popup from Scatter asking you to allow the connection. Make sure to hit allow.
At this point, if you navigate back to the Prospects website you will be able to play the game.
Final Words
That’s it! You now know how to set up an EOS scatter account and use it to interact with various EOS dApps. You can also go to the Apps section in Scatter and explore the various dApps available there. There are plenty of social media dApps, game dApps, wallets, Exchanges, Marketplaces, and much much more!
What’s your favorite dApp on EOS? Let me know in the comment section below!

